How to Take Body Measurements for Progress Tracking
Learn a consistent, practical method for tracking waist, hip, and other body measurements without chasing false precision.
Body measurements can add context when scale weight is noisy or stable. They are inexpensive, easy to repeat at home, and more directly connected to changes in body size than total weight alone.
They are not perfectly precise. Tape placement, tension, posture, breathing, and time of day can all change the result. The goal is a consistent process that reveals broad changes over time, not a supposedly exact number.
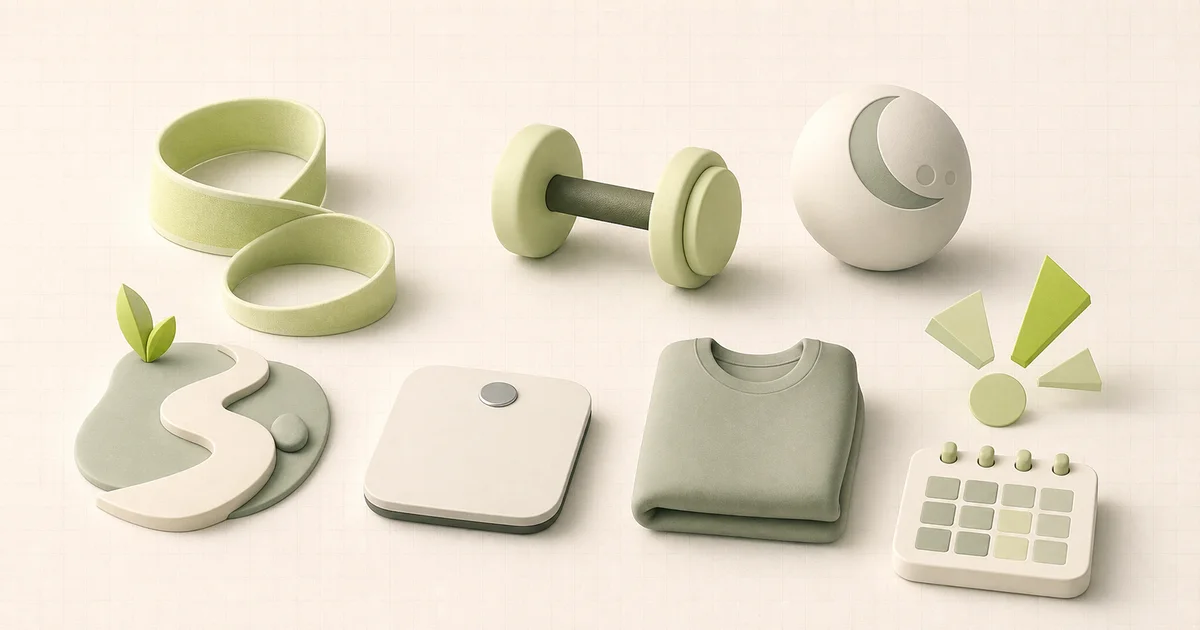
What you need
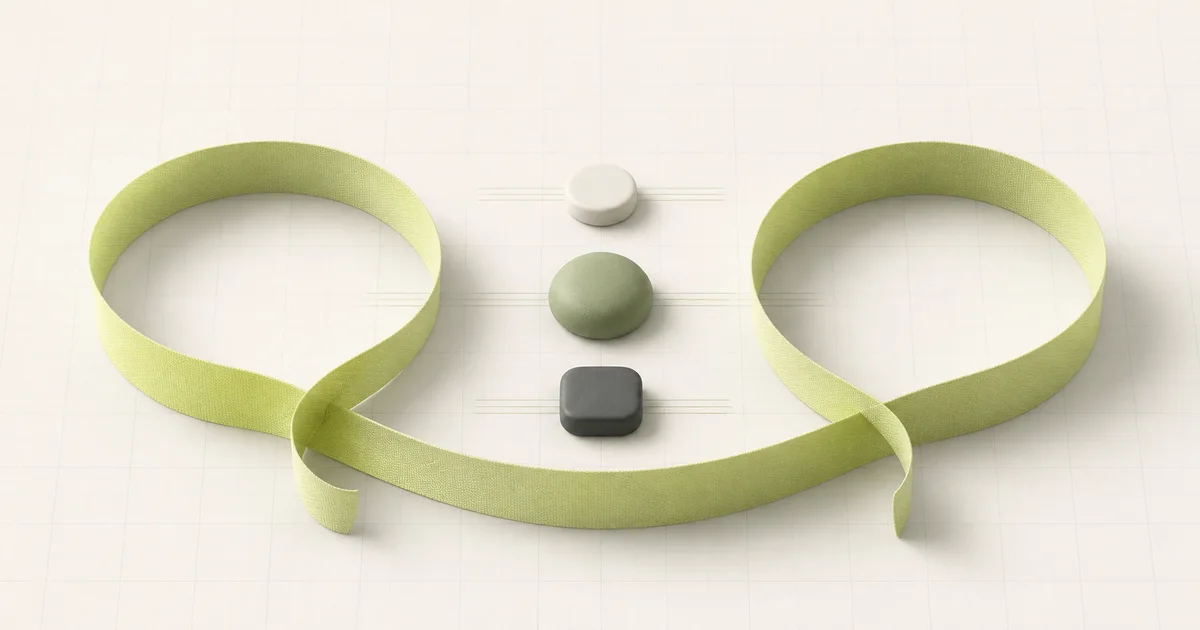
Use a flexible, non-stretch measuring tape. A mirror can help you keep the tape level, and a trusted person can assist with locations that are difficult to reach consistently.
Keep a short note describing where each measurement is taken. “Waist” can mean different locations, so the method matters as much as the number.
General measurement rules
For every location:
- Measure against skin or thin, consistent clothing.
- Stand naturally without flexing or pulling in your stomach.
- Keep the tape flat and level.
- Make it snug without compressing the skin.
- Breathe normally unless the specific protocol says otherwise.
- Record to a sensible level of precision.
If two immediate attempts differ substantially, check tape placement and take one more. Do not repeat until you find the smallest result.
How to measure waist circumference
For health-risk screening, CDC and NHLBI guidance places the tape around the middle just above the hip bones and takes the measurement after breathing out. Follow a clinician’s method when the result will inform medical decisions.
For personal progress tracking:
- Locate the top of your hip bones.
- Wrap the tape horizontally around your middle just above them.
- Check in a mirror that it remains level around your back.
- Relax and breathe normally.
- Measure just after a normal exhale.
Use the same landmark every time. Do not switch between the narrowest point and the level of the navel unless you record them as separate measurements.
Waist circumference can contribute to health-risk assessment, but it is not a diagnosis and thresholds are not equally informative for every population or individual. Discuss interpretation with a healthcare professional.
How to measure hips
Stand with your feet together or in the same comfortable position each time. Wrap the tape around the widest part of the hips and buttocks. Keep it level and avoid pulling it tight.
Because the widest point can be difficult to locate, note a visual landmark or ask the same person to assist each time.
Other optional measurements
Only measure locations relevant to your goals. More data is not automatically better.
- Chest: around the fullest part, with the tape level and arms relaxed.
- Upper arm: at a recorded midpoint, with the arm relaxed.
- Thigh: at a defined distance below the hip crease or another repeatable landmark.
- Calf: around the widest point.
Muscle position, exercise, and tape angle can affect limb measurements. Treat small differences cautiously.
When and how often to measure
Measurements usually change more slowly than daily weight. Every four to eight weeks is a reasonable practical interval for many personal tracking goals. Measuring every day mainly captures technique variation and can encourage unnecessary checking.
Use similar conditions:
- same time of day;
- similar clothing;
- before rather than immediately after a large meal;
- not directly after training; and
- similar hydration and posture when possible.
Consistency matters more than choosing a perfect date.
How to interpret the results
Look for changes larger than your normal measurement variation and repeated across multiple sessions. A difference of a few millimeters may come from tape placement or breathing.
Combine measurements with other indicators:
- a long-term weight trend;
- clothing fit;
- strength or physical capacity;
- energy and sleep; and
- consistency with relevant habits.
The article seven ways to measure progress beyond weight explains how to build a small dashboard without tracking everything.
Common mistakes
Pulling the tape tighter over time
Use light, consistent tension. Compression can create an apparent change that is not real.
Changing the anatomical location
Write down the landmark and use it again. Progress photos of tape placement can help, provided they are stored privately and securely.
Measuring too often
Short intervals create more opportunities for noise and frustration. Allow enough time for meaningful change.
Treating one area as a judgment
Bodies change in individual patterns. You cannot choose where fat loss occurs, and measurements do not define health or worth.
When measurements are not helpful
Stop if the process leads to frequent body checking, anxiety, restrictive behavior, or self-criticism. Clothing fit, strength, habits, or clinician-led monitoring may be more appropriate.
Seek professional advice for unexpected body changes, swelling, pain, or health-risk interpretation. Home measurements are observations, not medical diagnoses.
Keep the method simple
Choose one to three measurements, define the landmarks, and repeat them every few weeks. Record the result without trying to manufacture precision.
Used alongside Zen Weight’s longer-term trend, body measurements can provide useful context. Neither needs to carry the full meaning of progress alone.